Build Tellurium Plugins from Source
Intro
This document shows how to build Tellurium Plugins from sources using Visual Studio 2010 and above. The plugin requires a full build of libRoadRunner as well as third party libraries.
1. Building libRoadRunner
The Tellurium plugins depend on a compatible libRoadRunner installation.
Follow the instruction on libRoadRunner website to build libRoadRunner from the source.
Note: In the following instruction we will create a release type of build. This requires libRoadRunner and all of its dependencies to be built as release builds as well.
2. Acquire the source code for Tellurium plugins
The source code for Tellurium Plugins is located on GitHub with the address:
https://github.com/sys-bio/telPlugins.git
Any standard git client can be used to clone the repository. From the command line, type:
git clone https://github.com/sys-bio/telPlugins.git
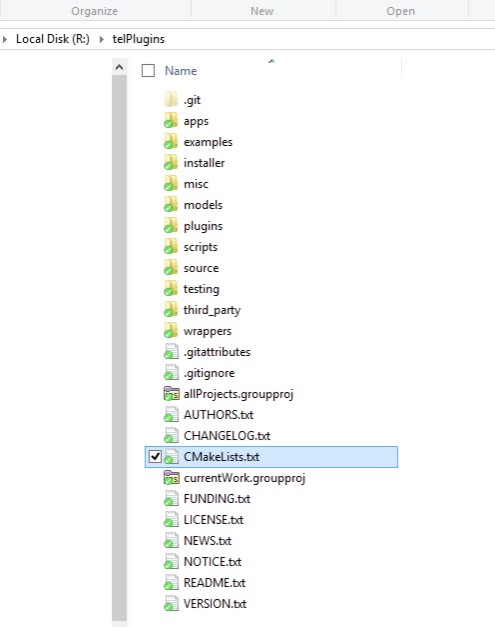
A successful clone will have similar folder structure as shown below.
3. Generate Solution Files
Solution files are generated using CMake. You can download CMake from CMake website. A complete set of build files for the Plugins and the Plugin APIs includes:- Visual Studio solution files for the Plugin APIs
- Visual Studio solution files for Plugin Third Parties
Following steps will show how to create a solution file for the Plugins using the CMake client for windows. When you start the CMake client for the first time, you will be presented with a blank screen.
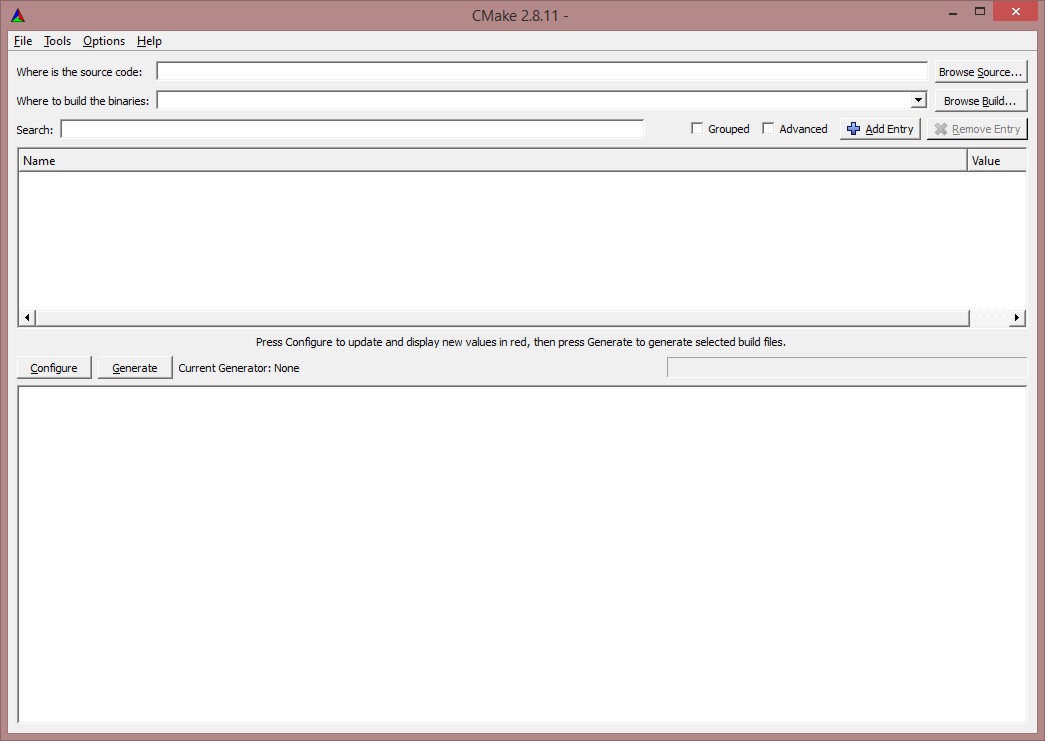
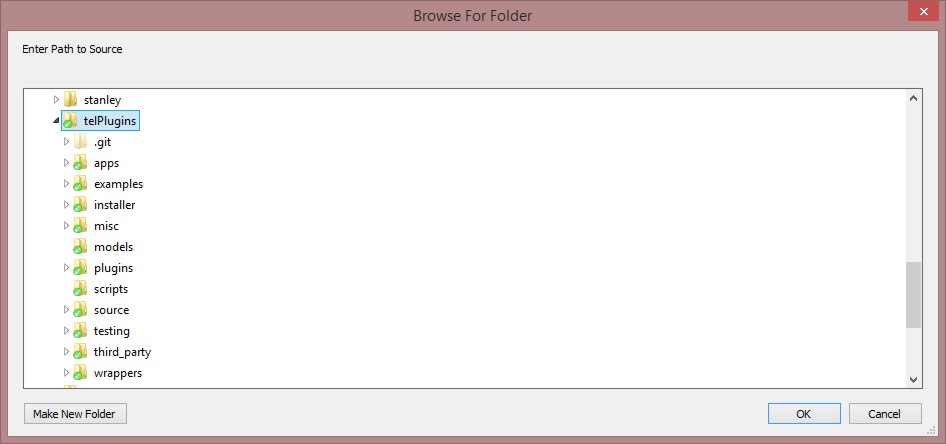
Click Browse Source and locate the folder for the cloned Tellurium Plugins source code. After you have selected the proper folder, click OK.
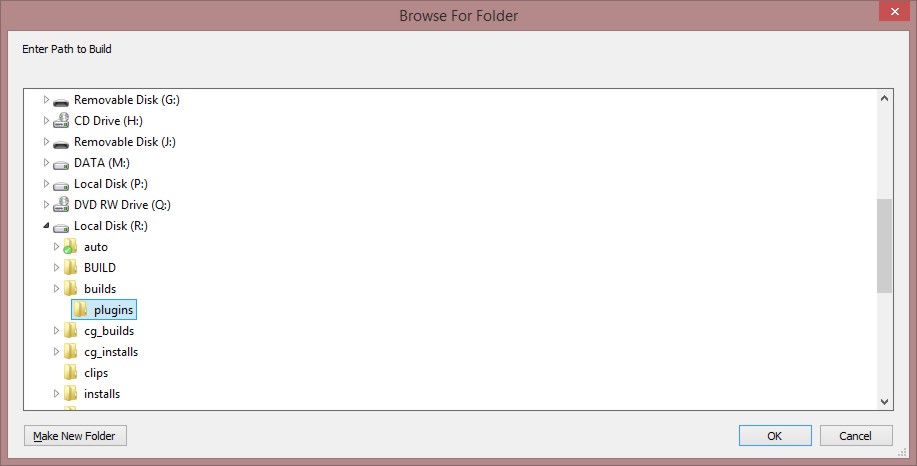
Next, click Browse Build. It will open another 'Browse for folder' window. The folder you select here will contain solution files after the build process is complete. We will use the path 'r:/builds/plugins' as an example in this instruction.
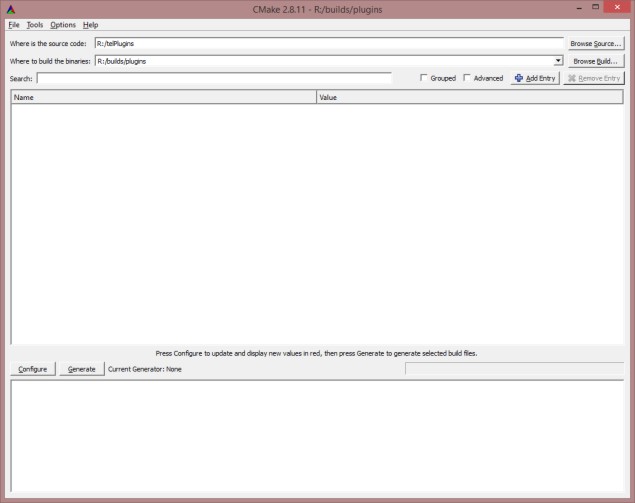
After selecting the folders, CMake will present an empty window as shown below.
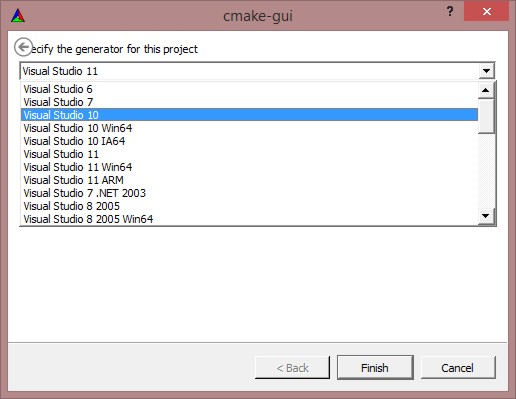
Click Configure. If this is your first time using CMake, CMake will ask you for compiler to generate build files for. For this instruction, we will select Visual Studio 10, which is the version number of Visual Studio 2010. Keep in mind that version numbers are not always intuitive, i.e. Visual Studio 2012 is Visual Studio 11. After selecting the compiler, click 'Finish'.
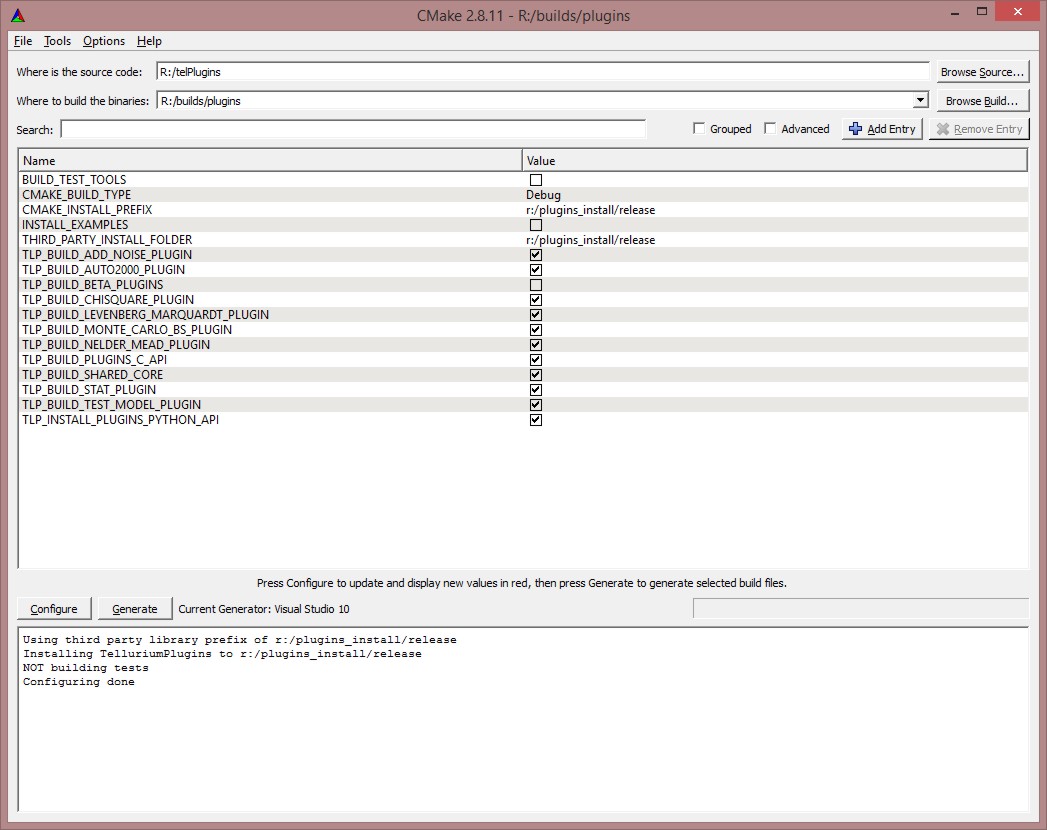
After selecting compiler, CMake will do some checks and then come back with various options, which are highlighted in red color. There are few important fields to setup correctly to obtain a successful build.
Set 'CMAKE_INSTALL_PREFIX' to be the EXACT SAME with the path used in building libRoadRunner. This field sets the path which the resulting binaries of the build will be placed. For this instruction, we used 'r:\plugins_install\release'.
Set 'THIRD_PARTY_INSTALL_FOLDER' to be the EXACT SAME with 'CMAKE_INSTALL_PREFIX'.
Set 'CMAKE_BUILD_TYPE' as 'Release'.
The rest of the options are somewhat self-explanatory. Select which plugins you want to build by checking/unchecking the check boxes. When you have made the changes, click 'Configure'. At this point, CMake window should resemble the figure below.
After a successful build, we may want to check the integrity of the build with some examples. Select INSTALL_EXAMPLES to generate example files.
Doing so will generate new options in the CMake window, as shown in the figure below.
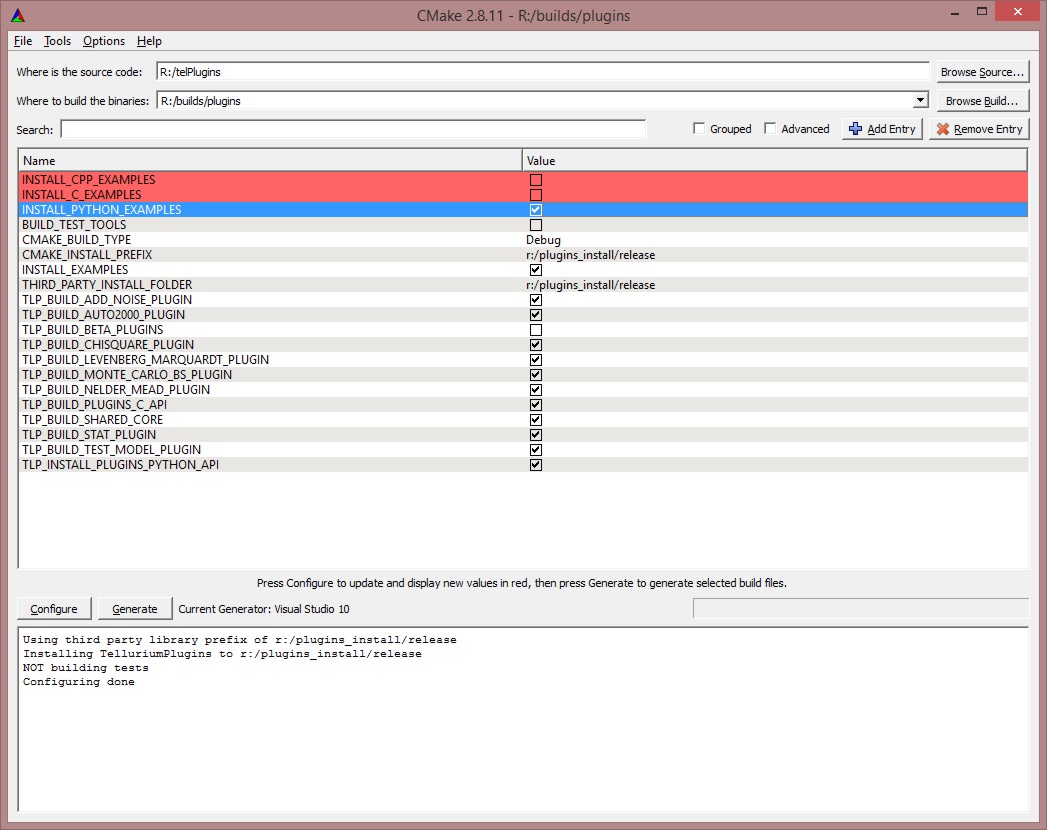
Finally, click Generate. This step will generate the Visual Studio solution and other files necessary for Visual Studio to compile the source. Make sure there are no red fields left in the window.
You will find the Visual Studio solution file called tellurium.sln in the path you selected before.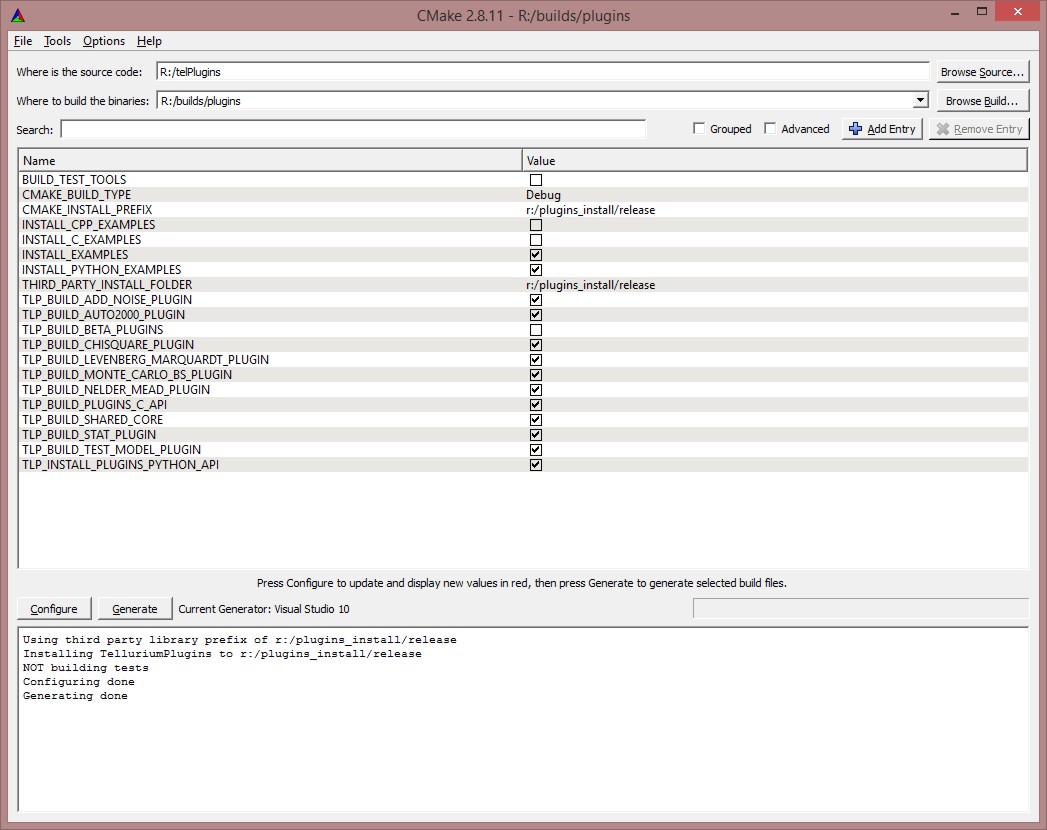
Create solution files for Third Party libraries
The Tellurium plugins source contains a sub-folder called 'third_parties'. This folder contains third party libraries that need to be built and installed BEFORE the plugins are built. Currently the only necessary third party library is 'poco'.
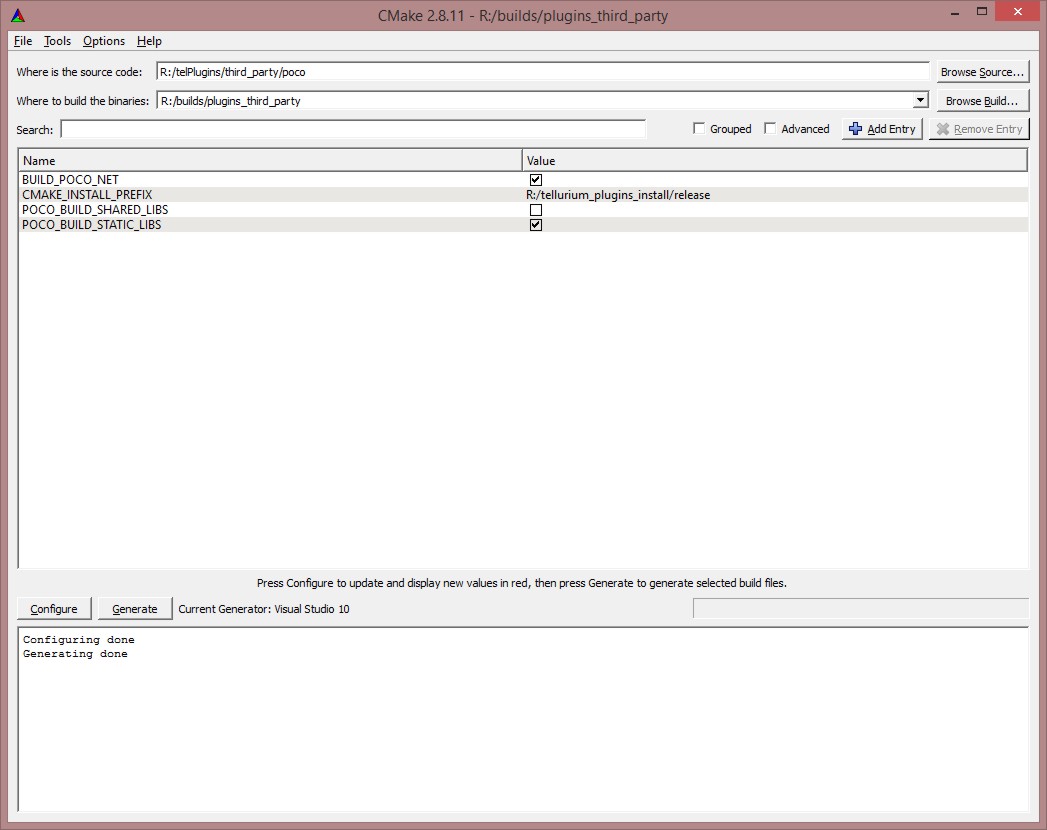
The following steps show how to build the source code found in the third_parties folder. First select the folder for the plugins third_party sources. In our example we used r:\telPlugins\third_party\poco.
Next, select the output folder for build files. In our example we used r:\builds\plugins_third_party. Then, within CMake, set CMAKE_INSTALL_PREFIX to point to the same path as other builds, i.e. r:\plugins_install\release.
Finally, click Generate.
At this point, your CMake window should look like the figure below.
4. Build Tellurium plugins using Visual Studio
We are now ready to build the plugins. The first step is to build the plugins third parties.
Build Plugins Third Parties
Open Visual Studio and select File->Open to browse the third party solution file. The third party solution file is called poco.sln.
After loading this file into Visual Studio, the Visual Studio workspace should look similar to the figure below.
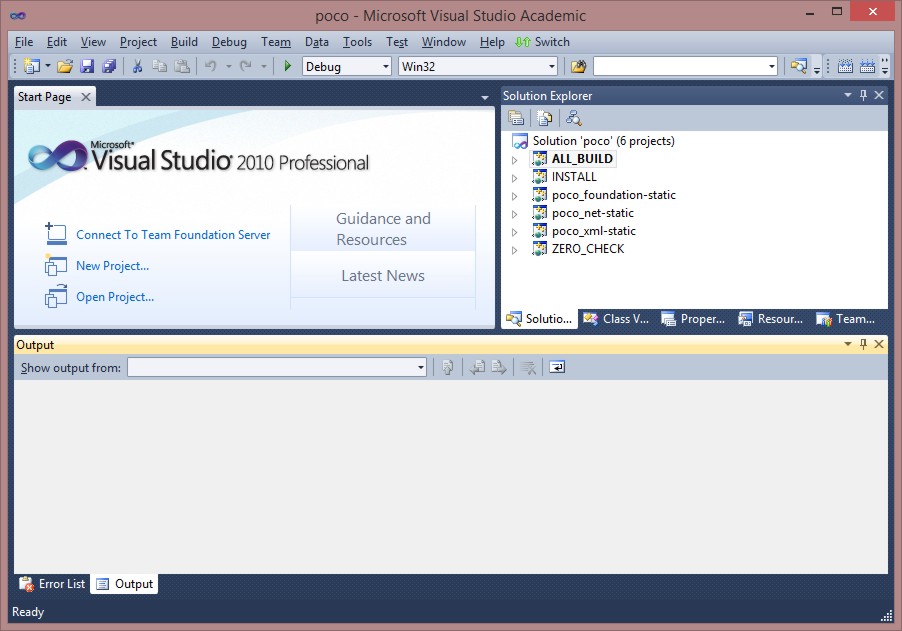
Next, if you see Debug in the drop down menu on the top, change it to Release.
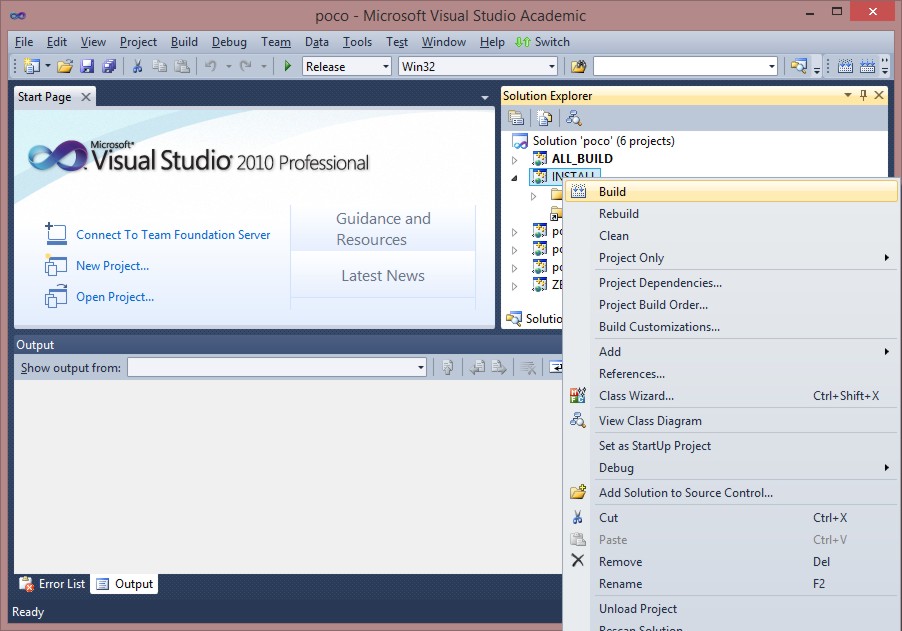
Right click on the INSTALL target and select Build (see figure below). This will start the compiling process.
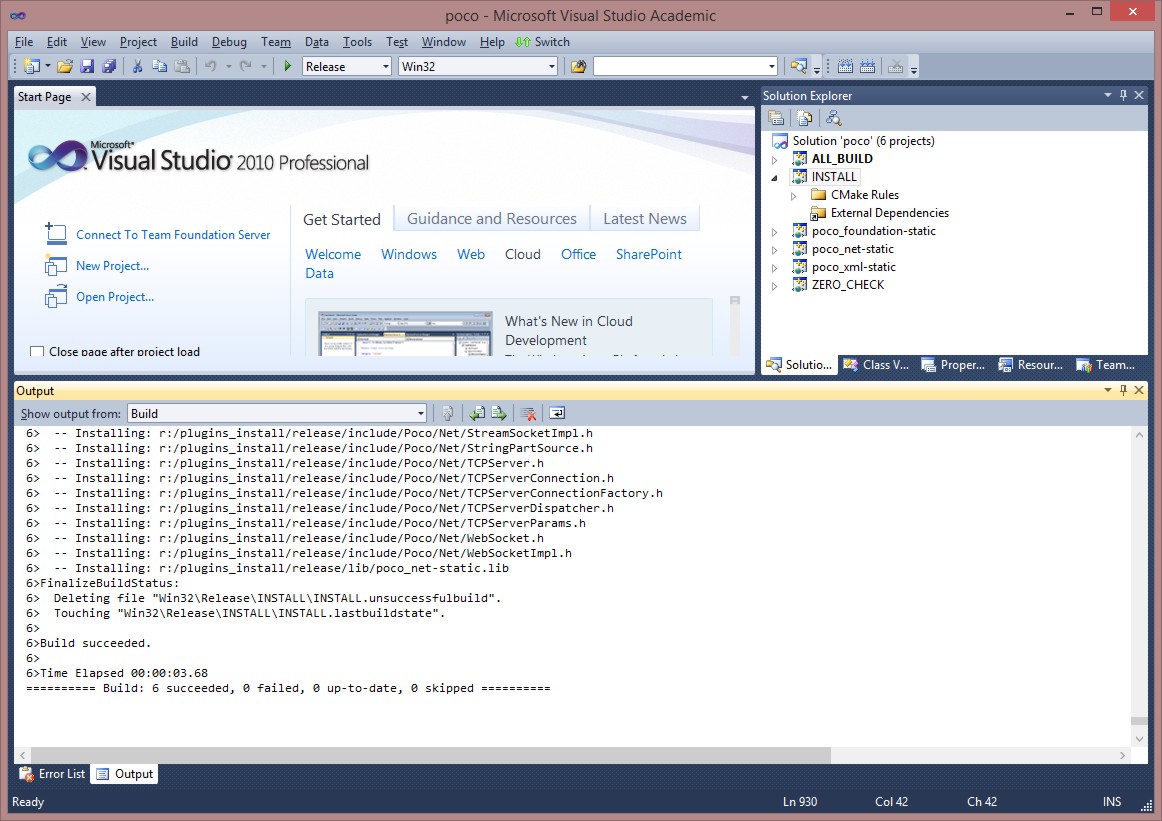
After a successful build, the Output window in Visual Studio will show a list of installed files as shown below:
Build Plugins
Open Visual Studio and select Tellurium Plugins solution file called tellurium.sln. Again, select the solution type to be Release.
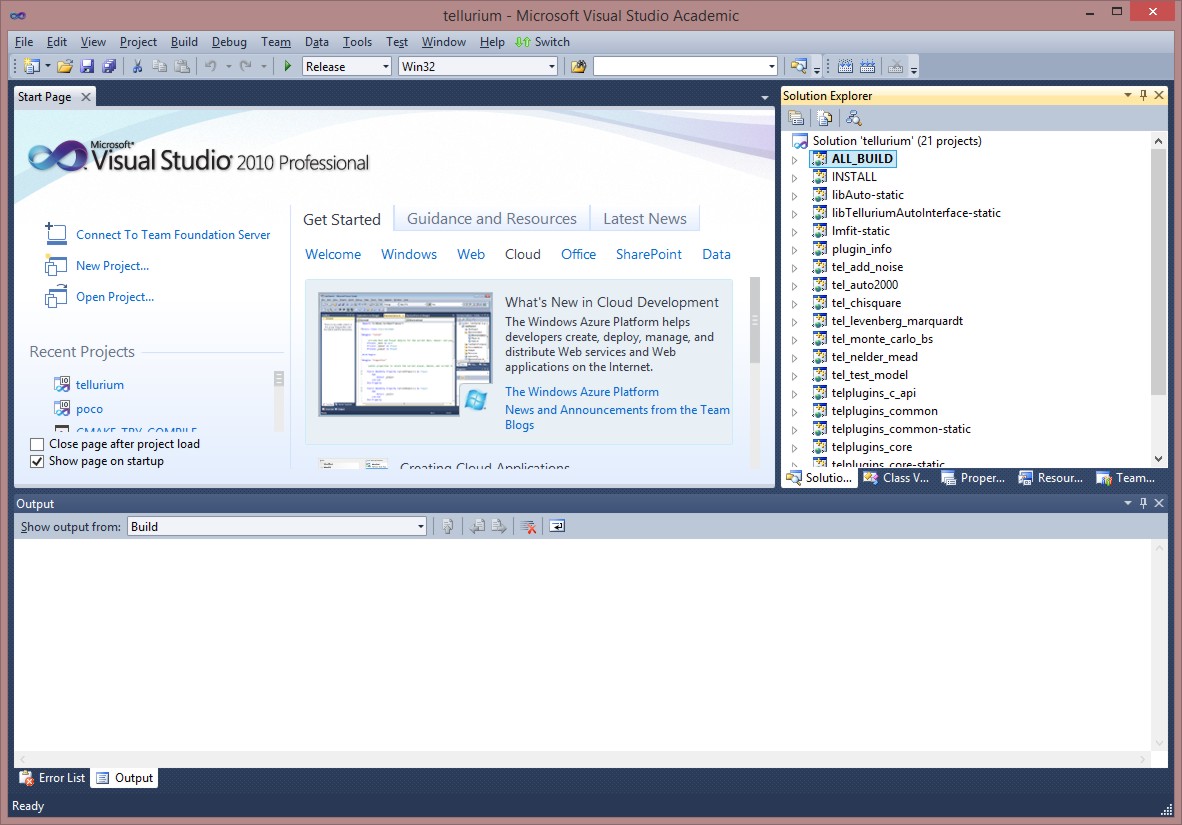
Right click on the INSTALL target and select Build to start the compiling process.
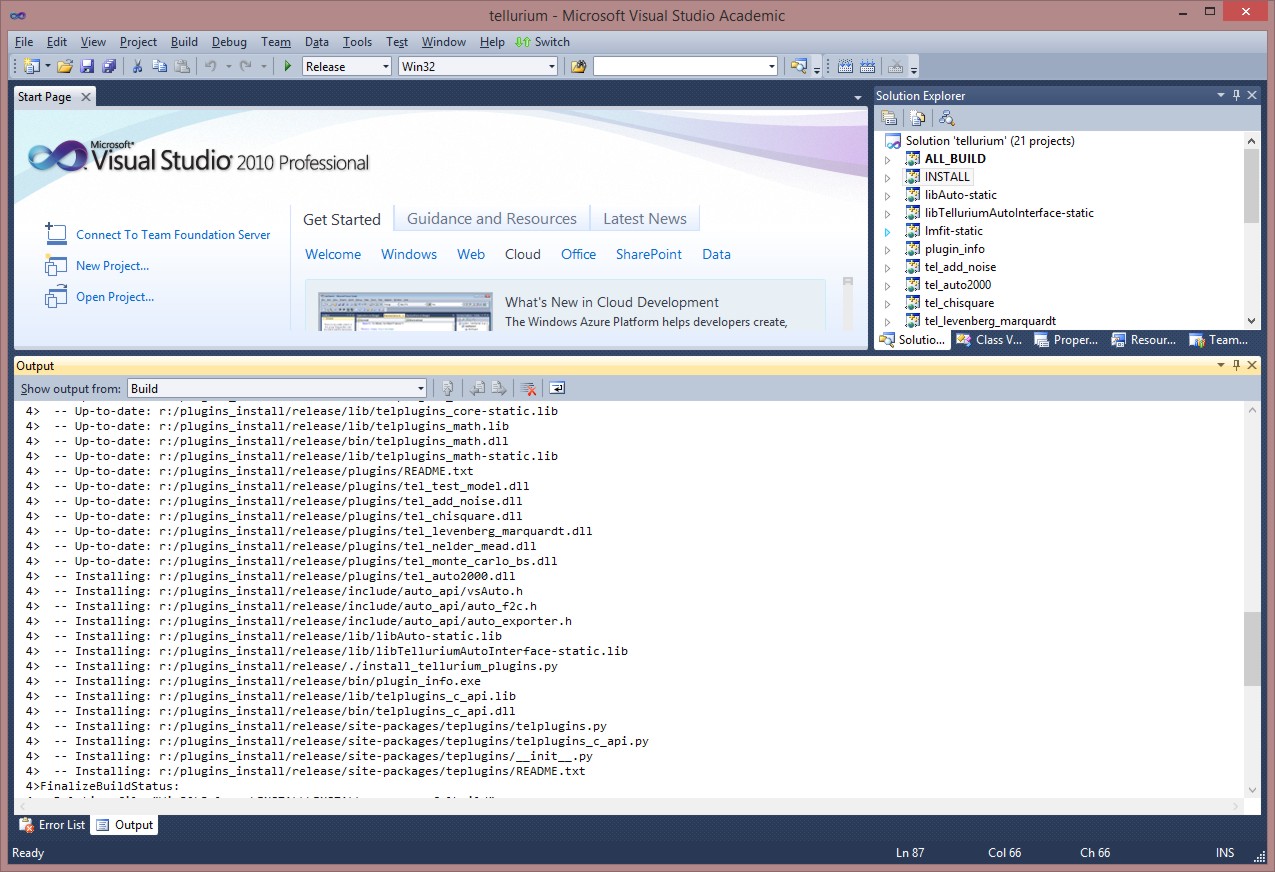
After a successful build, the Visual Studio workspace should look like the figure below.
Optional: Verify the build
It is always recommended to verify the integrity of the build. To check that the plugins are properly built, run install_tellurium_plugins.py script, located in the install folder. Keep in mind that this requires a functioning Python environment.
install_tellurium_plugins.py installs the Python modules for Tellurium Plugins to Python's site-packages folder, allowing you to access plugins from Python environment. The following figure shows the output from running the install script from PyScripter Python UI.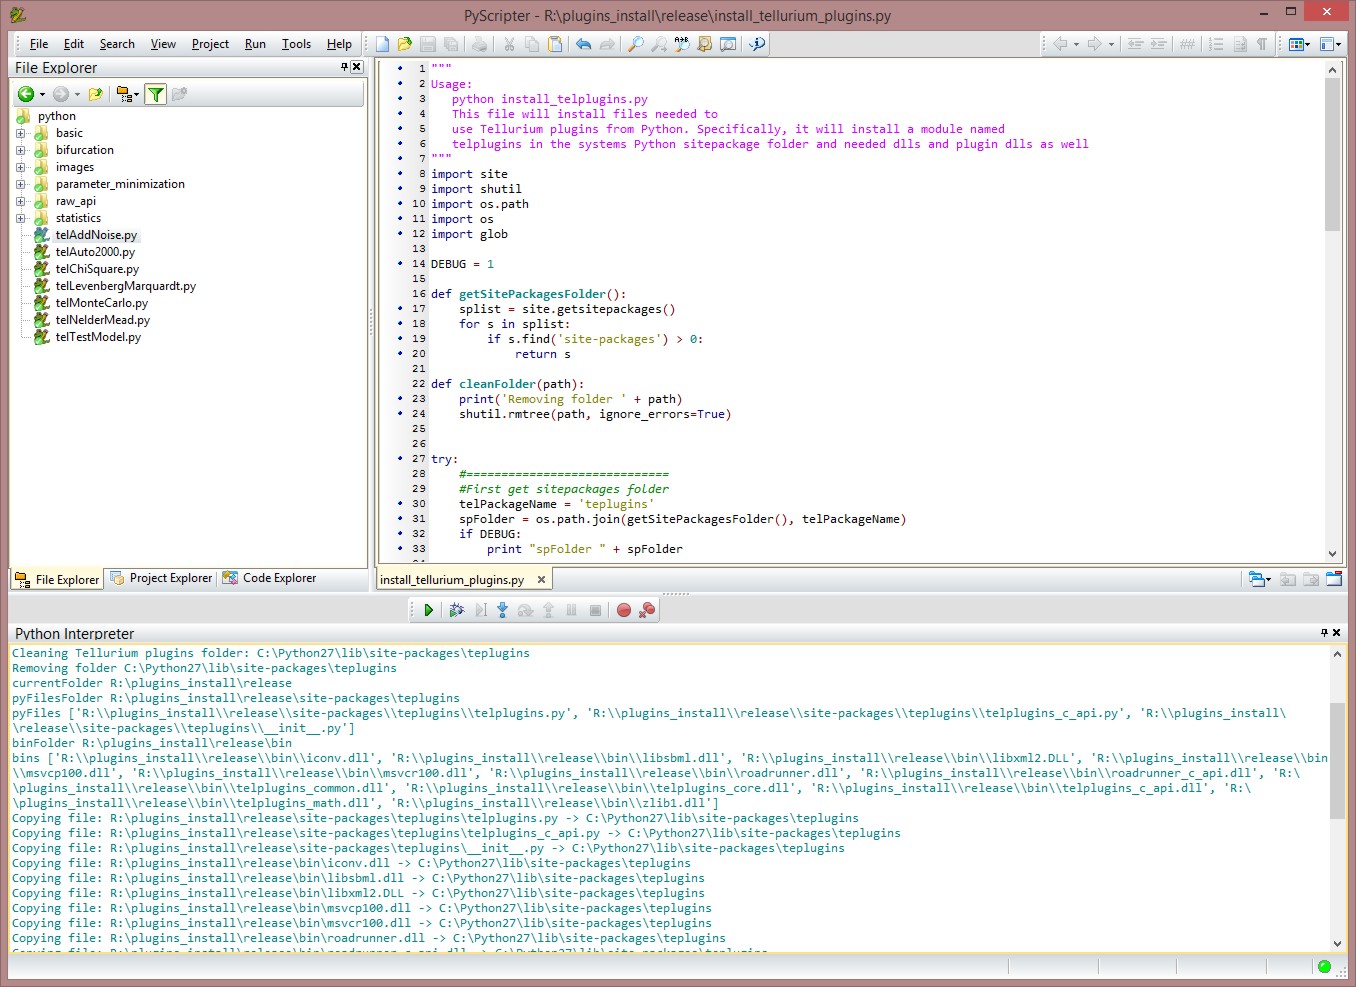
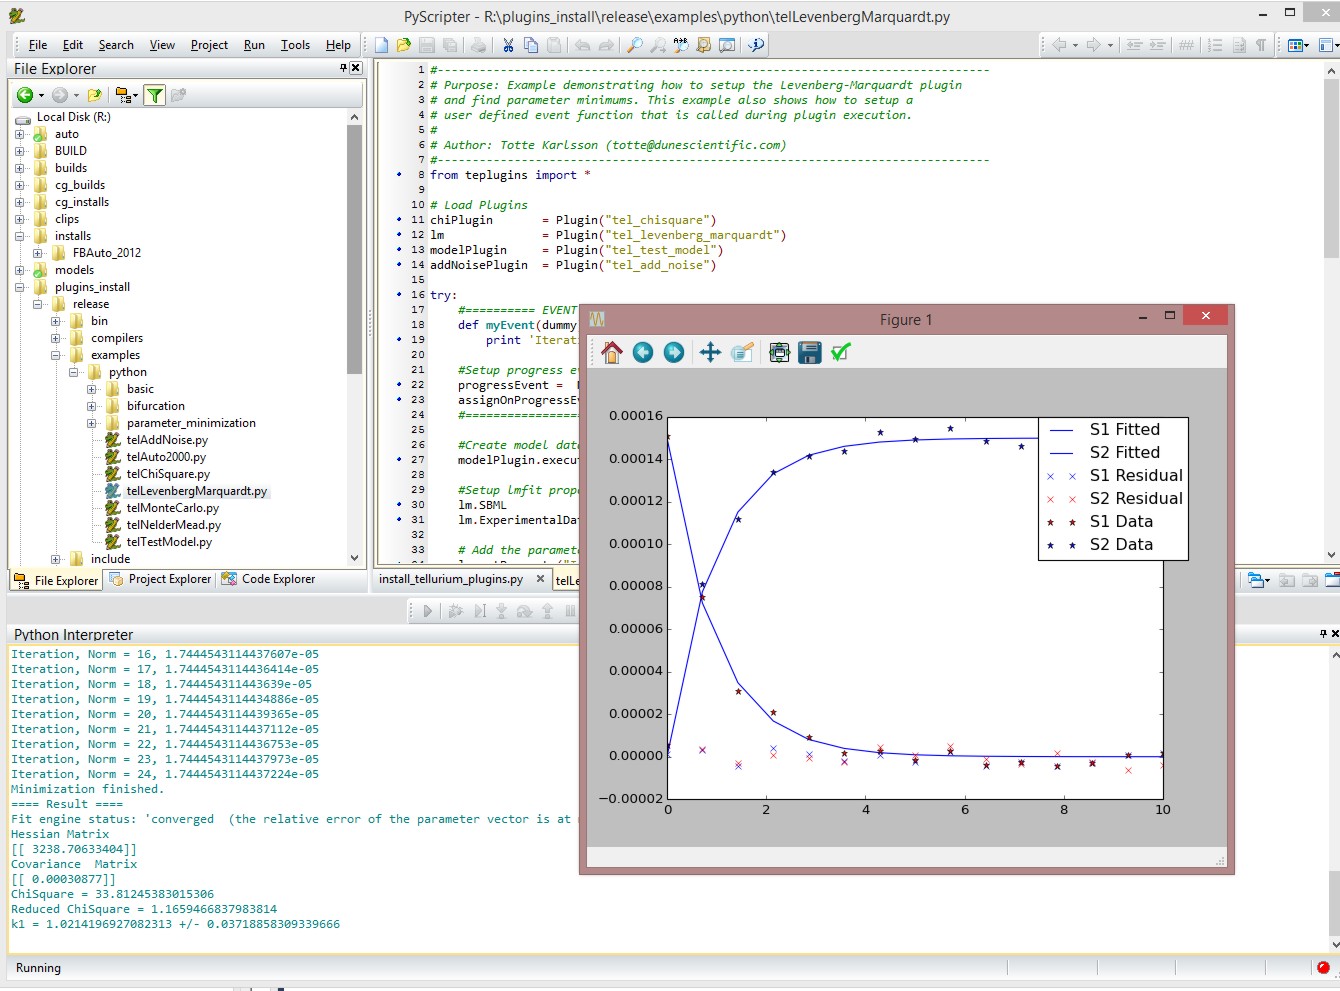
Below is the typical output of telLevenbergMarquardt.py, an example script utilizing Levenberg-Marquardt plugin, which can be executed using Python.
Optional: Create a Python release
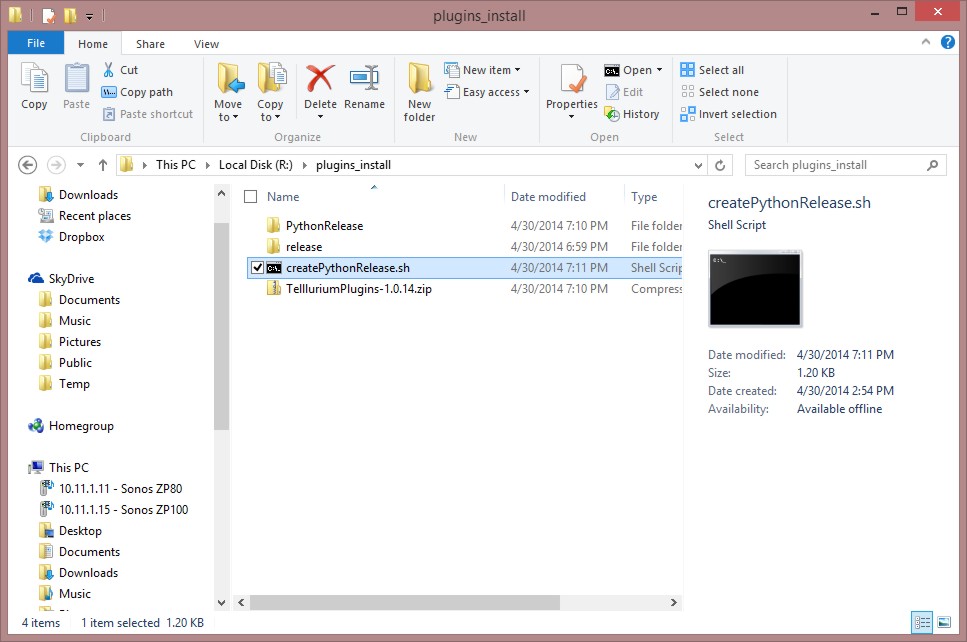
To bundle the resulting build into a Python Release, run the shell script located above the actual install folder. The script is called createPythonRelease.sh. Executing the script will create a zip file containing all the necessary files for Python distribution. The figure below shows the folders and files created after createPythonRelease.py is executed.
